§ Journal · Jun 2, 2026
Spring Trimmer Prep Checklist — Get Your String Trimmer Ready in 20 Minutes
A quick pre-season checklist to inspect your spool, line, and trimmer head before the first cut of spring.
Published · Last updated:
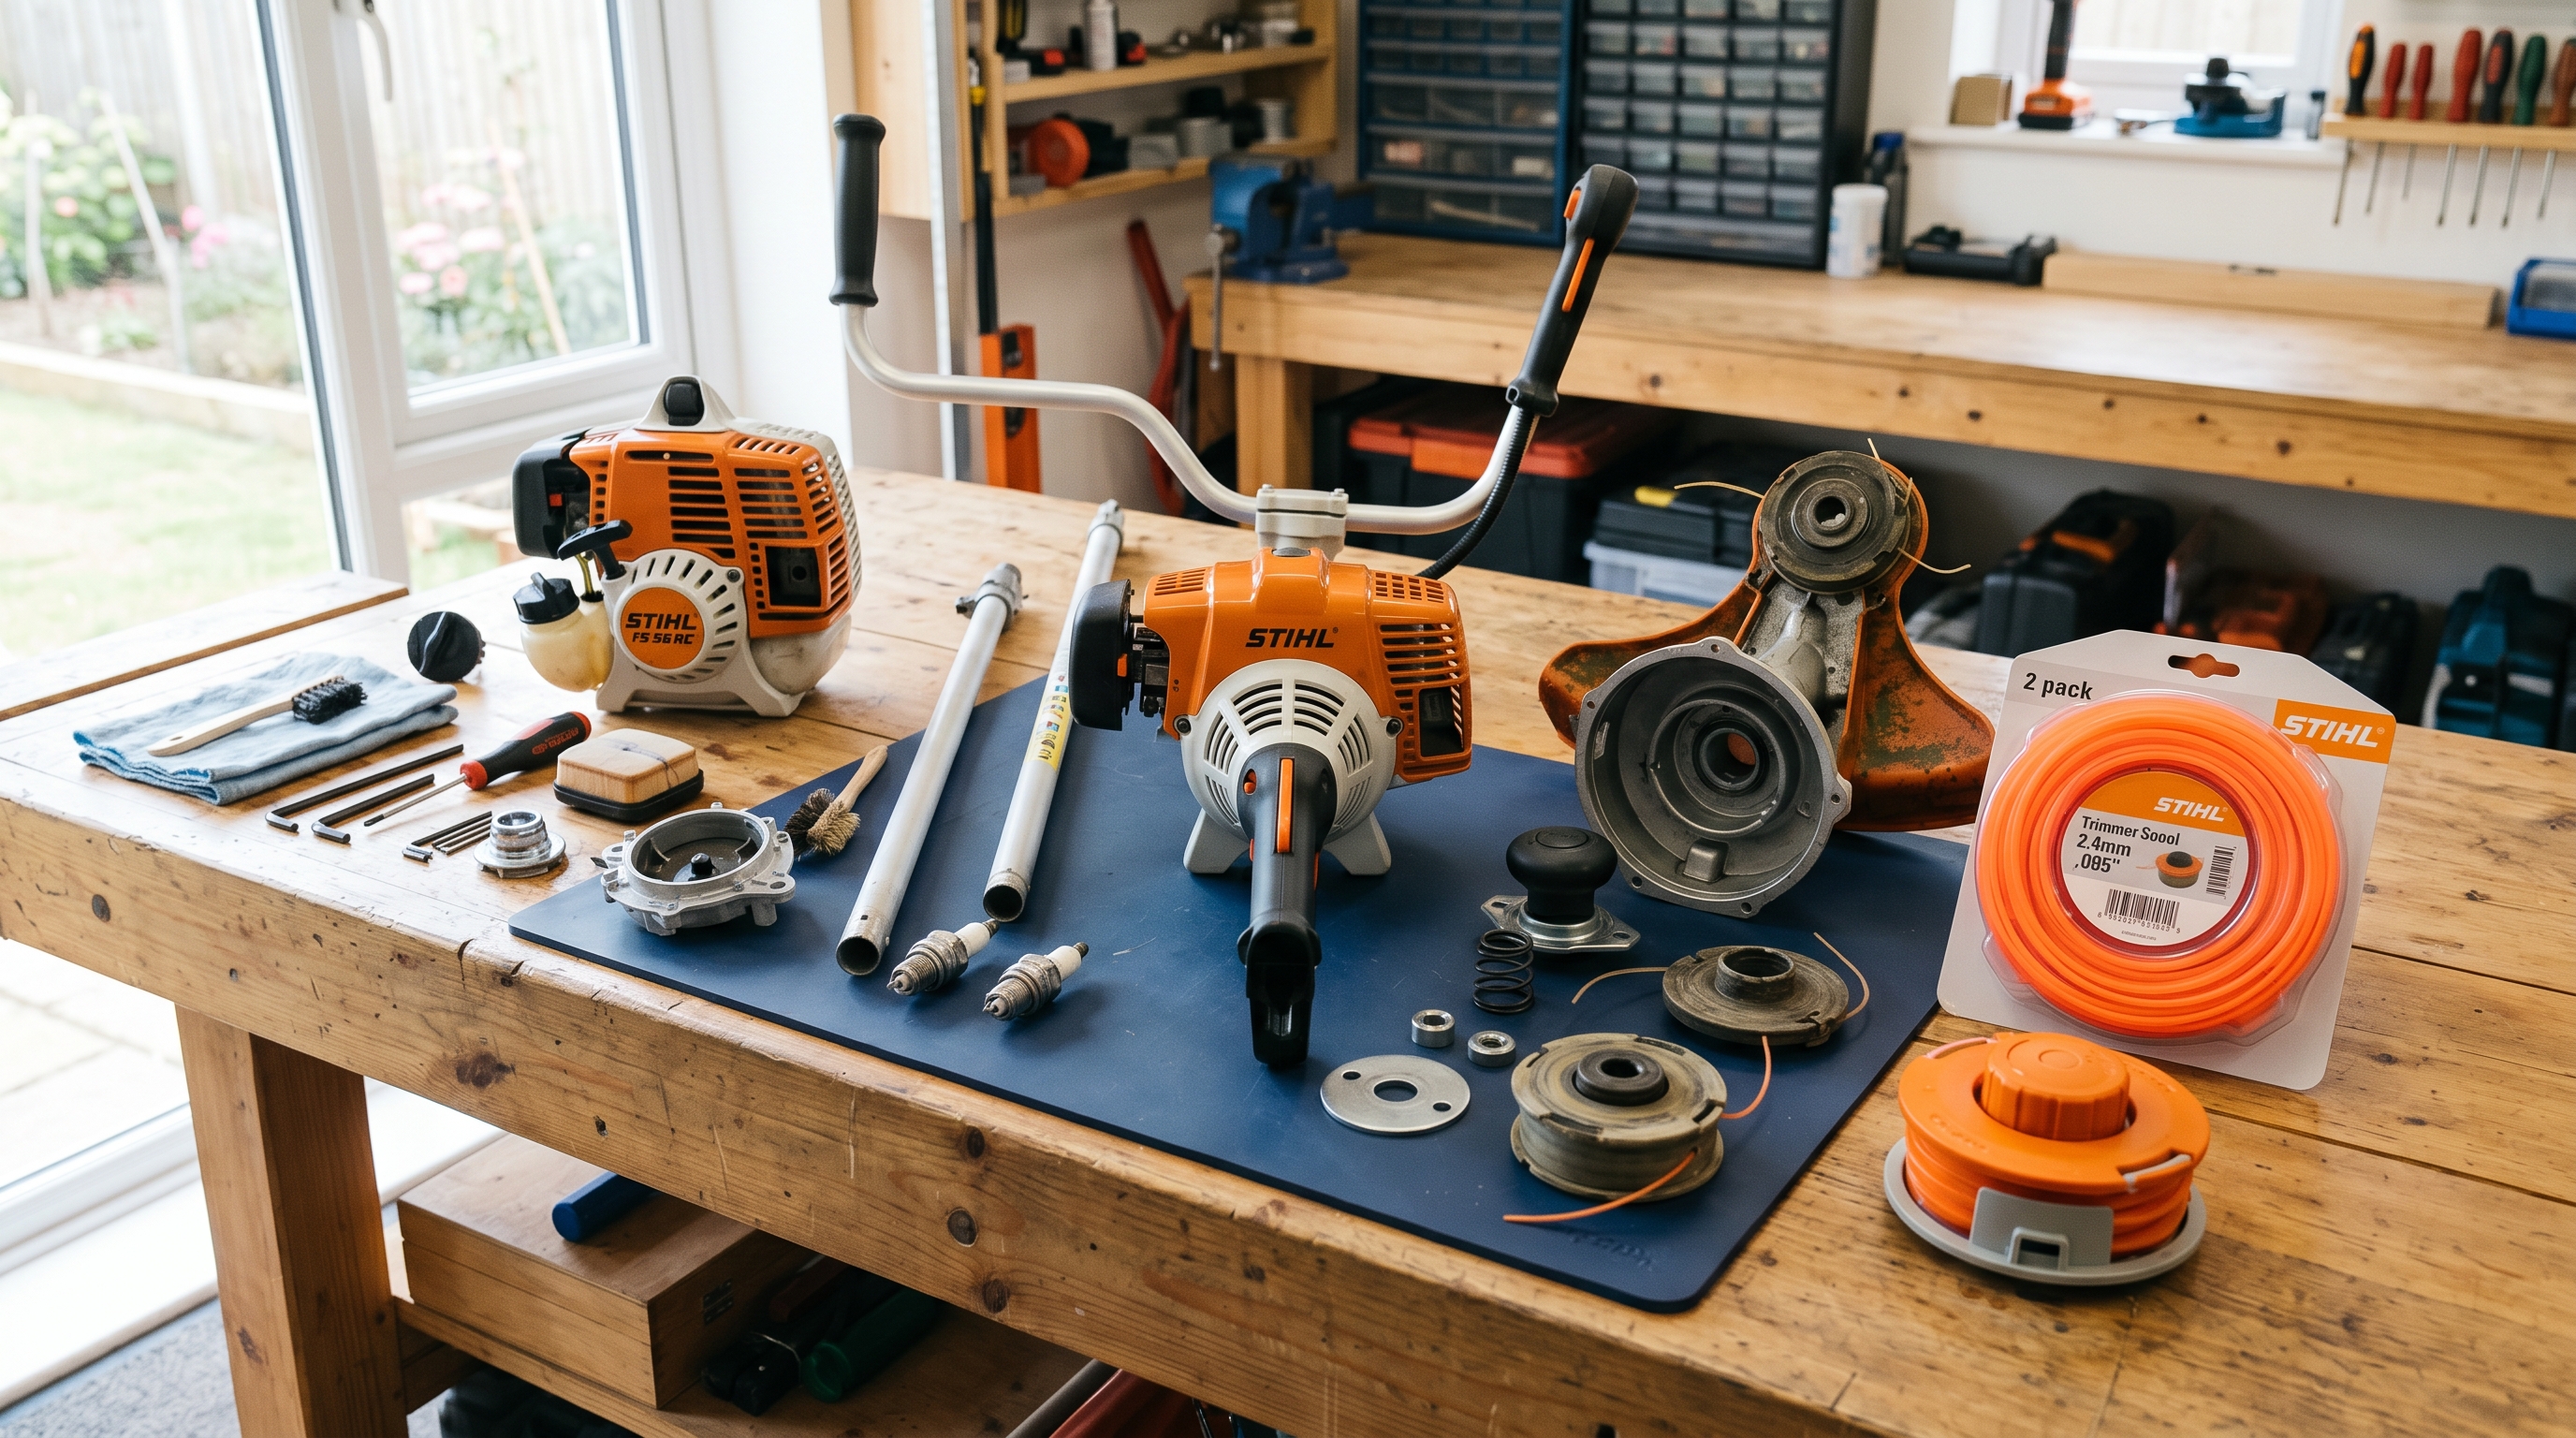
The first warm weekend hits and you grab your string trimmer off the garage shelf. It sat there all winter. Maybe you drained the fuel, maybe you didn’t. Either way, the spool and line took a beating from months of cold, dry air. Before you pull the trigger and wonder why the line snaps or the feed jams on the first pass, spend 20 minutes on this checklist. It will save you a frustrating afternoon.
1. Remove and inspect the spool
Pop the trimmer head cap and pull the spool out. Look for three things:
- Cracks in the spool housing. Cold temperatures make plastic brittle. Hairline cracks in the spool body or the retaining tabs mean the spool won’t seat properly, and feeding will be unreliable all season. If you see damage, replace the spool now rather than fighting it for months. Check Best Replacement Spools by Brand to find a direct match.
- Warping or deformation. A spool that sat under a heavy toolbox or got knocked around may no longer spin freely inside the head. Set it on a flat surface and look for wobble.
- Dirt and debris packed into the spool cavity. Grass clippings, dust, and dried sap accumulate in the head housing over a season and then harden over winter. Clean the cavity with a stiff brush or compressed air before reinstalling anything.
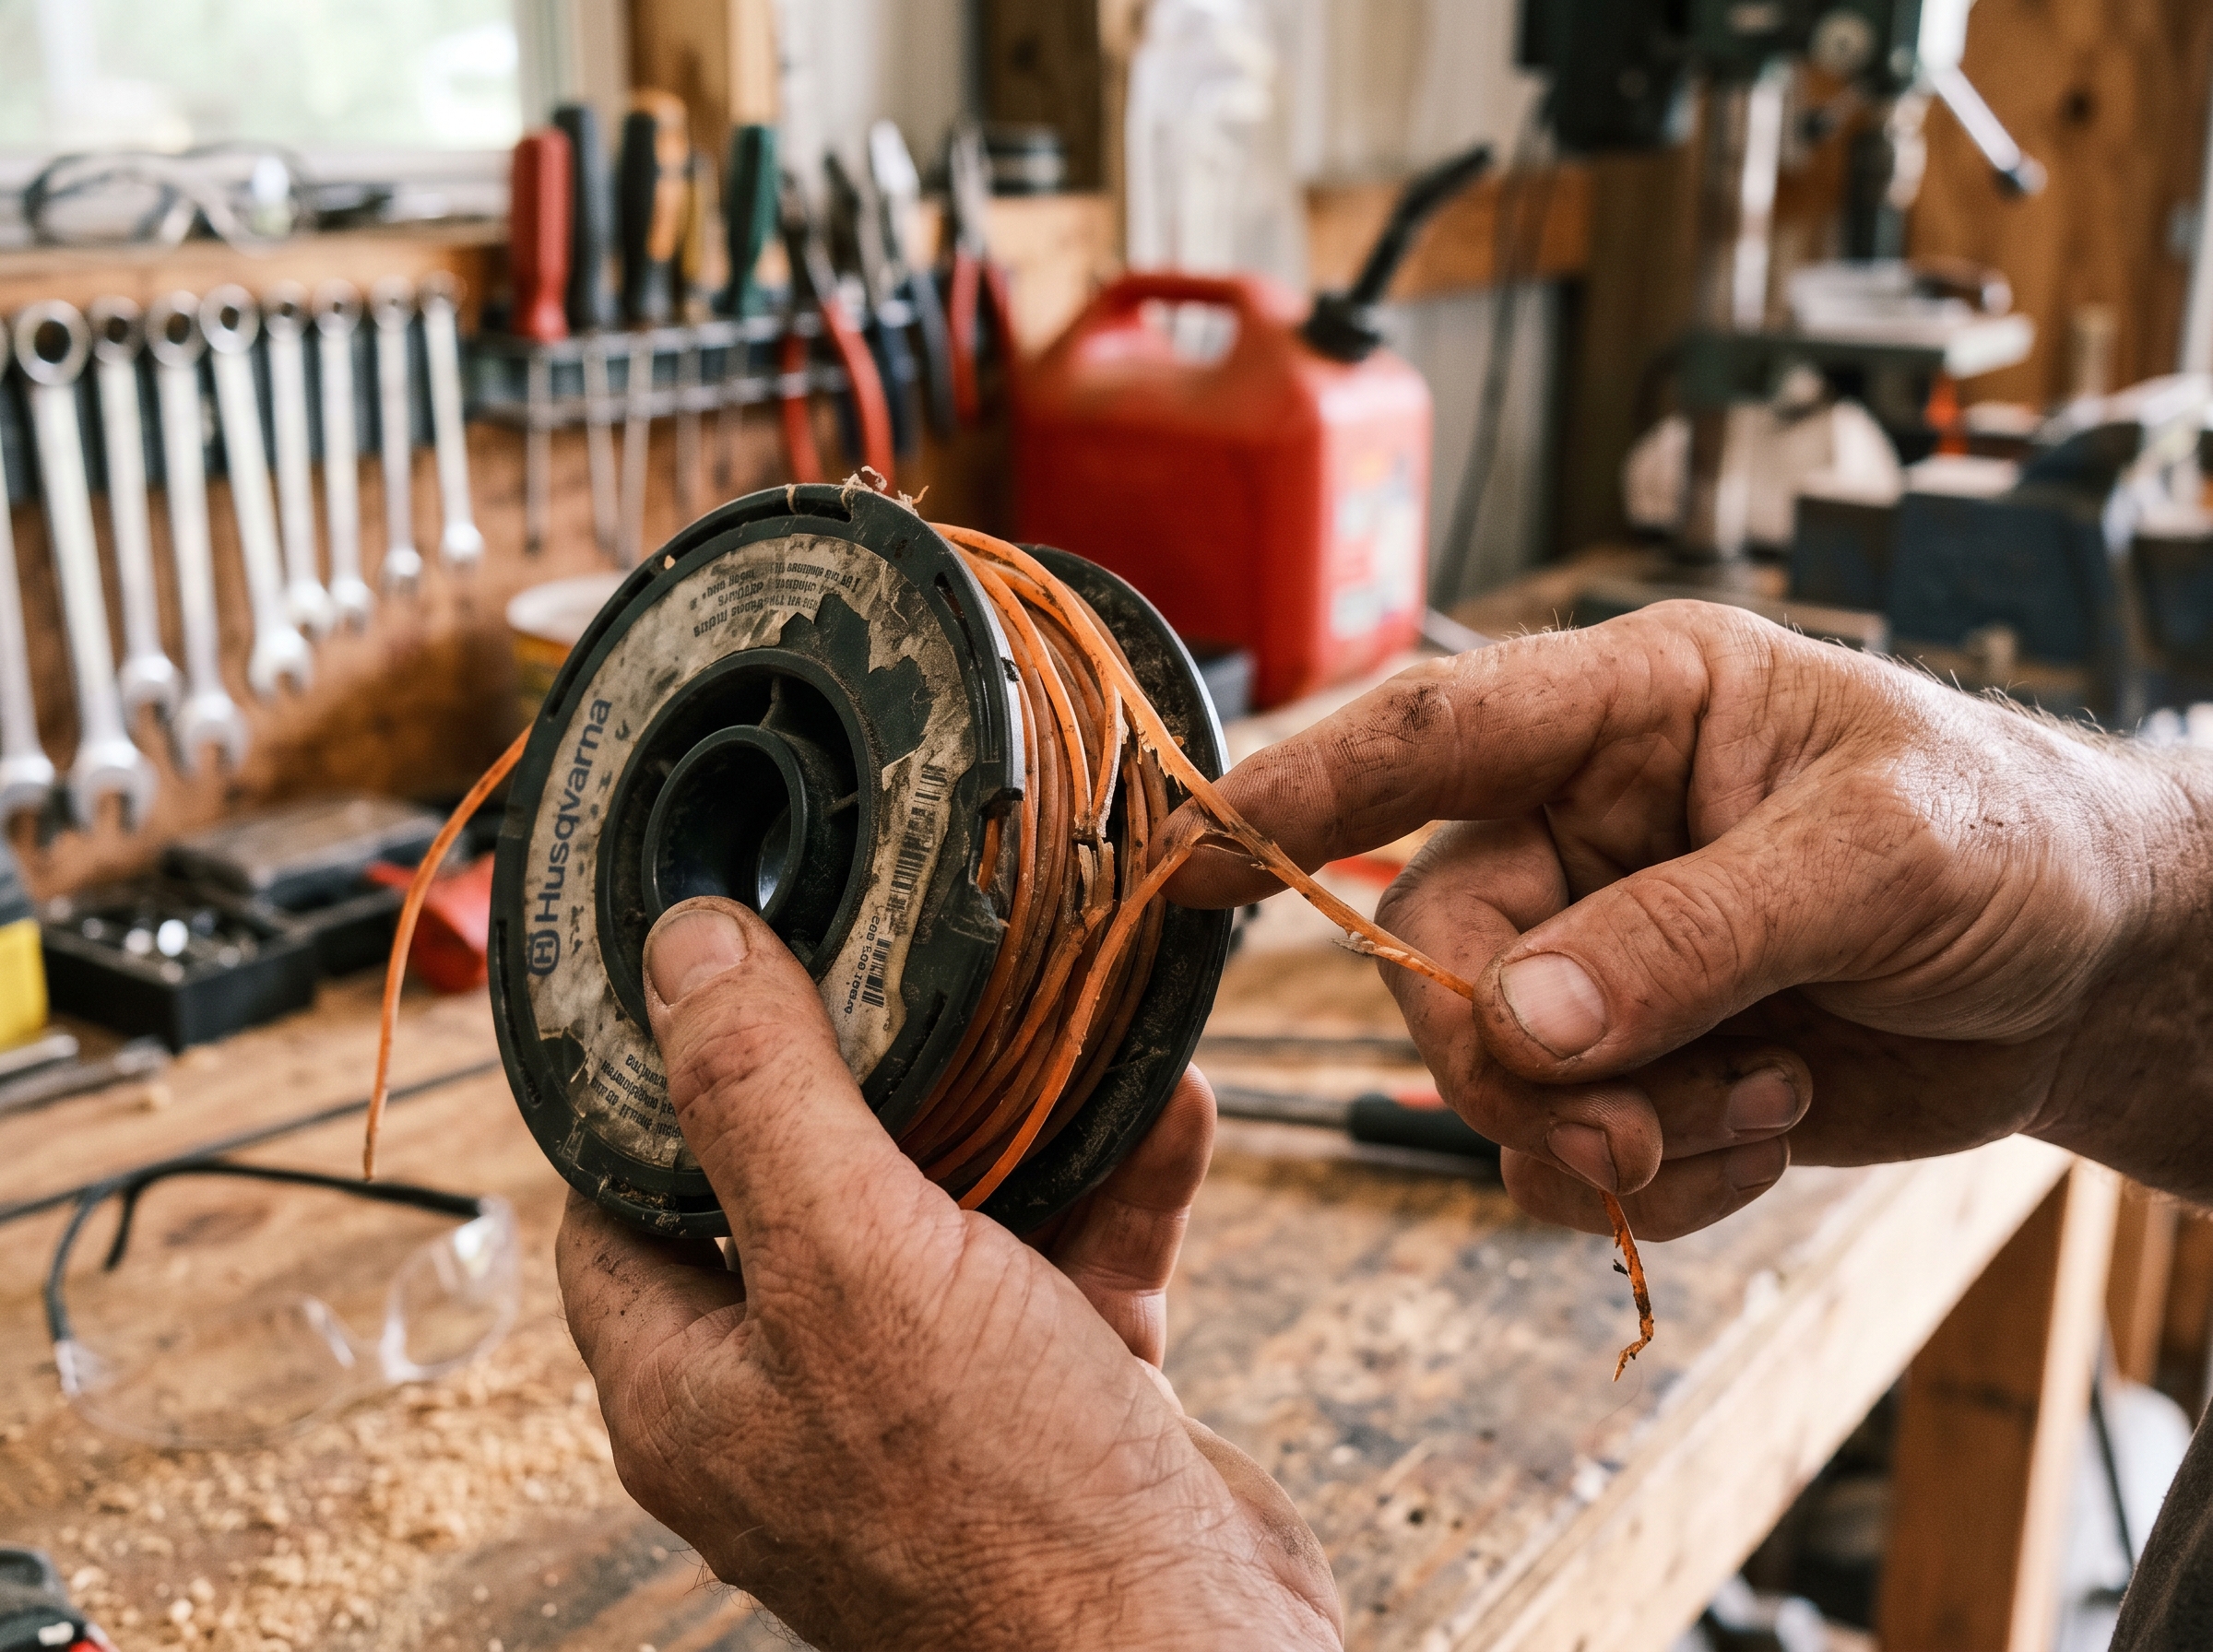
2. Check the trimmer line condition
This is where most spring startup problems begin. Nylon trimmer line absorbs and loses moisture depending on storage conditions. A winter in an unheated garage or shed leaves line dry, stiff, and brittle — the opposite of what you need for clean feeding and cutting.
Test the line by bending a short section between your fingers. Good line flexes smoothly. Bad line feels rigid, cracks, or snaps with minimal pressure. If it fails the bend test, strip it off and re-spool with fresh line.
A few specific things to watch for:
- Dried-out line on the spool. Even if the outer wraps look fine, inner coils may have fused together from heat welding during last season’s use. Try pulling line off the spool — if it resists or comes off in chunks, replace the whole load.
- UV-damaged line. Line stored in direct sunlight turns chalky and weak. This is especially common with bulk line left on a peg in a window-facing garage.
- Wrong gauge still loaded. If you swapped line gauges last fall for a heavy cleanup job, confirm you’re running the right diameter for your regular spring trimming. For a refresher on matching gauge to your trimmer, see Choosing Trimmer Line Gauge: .065 vs .080 vs .095.
3. Clean the trimmer head
With the spool out, give the head itself attention:
- Inspect the line eyelet. This is the small hole where the line exits the head. Over time, it grooves and develops sharp edges that cut line prematurely. Run your fingertip across the eyelet opening. If you feel a notch or burr, the head needs replacing. A worn eyelet is the number-one hidden cause of line that keeps breaking — more on that in Why Your Spool Keeps Jamming.
- Check the bump knob or auto-feed mechanism. Press the bump knob to make sure it springs back. If it feels stuck or mushy, disassemble it and look for a cracked or compressed spring. On auto-feed heads, confirm the feed pawls move freely. Stuck feed mechanisms are covered in detail in Auto-Feed Trimmer Head Not Working.
- Clear the line channels. Use a small pick or compressed air to blow debris out of the channels the line runs through inside the head.
4. Re-spool correctly
If the old line passed inspection, you can reinstall it. If not, wind fresh line onto the spool following the directional arrow stamped on the spool body. Proper winding technique prevents tangles and heat welding all season long. The full process is covered in How to Wind a Trimmer Spool.
Key points for spring re-spooling:
- Wind in tight, flat, even rows — no overlapping or criss-crossing.
- Leave about six inches of line extending through the eyelet after seating the spool.
- On dual-line spools, keep each line in its designated channel.
5. Test the feed before you start cutting
Reassemble the head, power on the trimmer, and bump or trigger the feed a few times before you actually cut anything. Watch for:
- Line advancing smoothly with each bump or feed cycle.
- Both lines (on dual-line setups) extending evenly.
- No grinding, clicking, or resistance.
If the feed stalls, remove the spool and check for a cross-wind or a line that’s binding against the housing. Troubleshooting steps are in Trimmer Line Won’t Feed.
6. Quick power-system check
While you’re at it, spend two minutes on the power side:
- Battery trimmers: Charge the battery fully and check for swelling or corrosion on the terminals. A battery that sat at zero charge all winter may have reduced capacity.
- Gas trimmers: Drain old fuel if you didn’t before storage. Replace the spark plug if it’s been more than a season. Check the air filter.
- Corded electrics: Inspect the cord and extension cord for cracked insulation or bent prongs.
The 20-minute summary
| Step | Time | What to look for |
|---|---|---|
| Remove and inspect spool | 3 min | Cracks, warping, packed debris |
| Check line condition | 3 min | Brittle, fused, UV-damaged, wrong gauge |
| Clean trimmer head | 5 min | Worn eyelet, stuck bump knob, clogged channels |
| Re-spool if needed | 5 min | Tight flat winds, correct direction |
| Test feed mechanism | 2 min | Smooth advance, even extension |
| Power-system check | 2 min | Battery health, old fuel, cord condition |
Twenty minutes of spring prep avoids hours of mid-job frustration. And if your spool or head turns out to need replacing, it’s better to find that in the garage than halfway through the first mow of the year. Browse replacement spools and line in the shop.

Find the right part on Amazon
Check price, stock and fitment — ships direct from Amazon.
§ Parts


