Overview
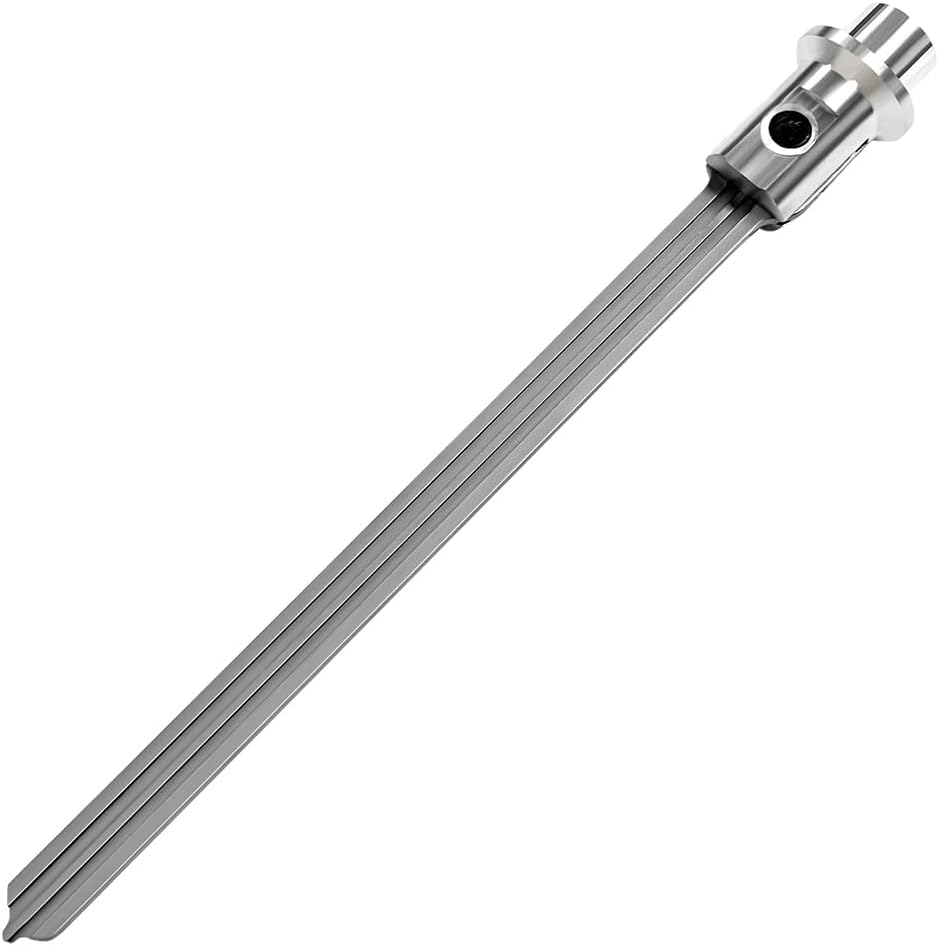
Designed as a drop-in aftermarket replacement, this piston driver assembly restores reliable nail-driving power to worn or malfunctioning nailers. Over time, the OEM driver can develop wear marks and lose its seal, leading to shallow drives and double fires. This replacement part brings the tool back to original operating condition.
Key specifications
- Aftermarket piston driver assembly
- Direct OEM-equivalent replacement
- Includes 1 piece(s) per package
- Includes o-ring(s) for proper cylinder seal
- Precision-machined for consistent nail depth
Compatibility
This piston driver is designed to fit Ryobi nailers as specified in the compatibility listing above. Always cross-reference the full model and type number stamped on your tool’s nameplate before ordering.
Installation notes
Disconnect the nailer from the air compressor or remove the battery before beginning disassembly. Remove the cap, pull out the old piston driver, and clean the cylinder bore before inserting the new assembly. Lubricate the o-rings with pneumatic tool oil for a proper seal and smooth cycling.
Common questions
Q: Will the 206679001 piston driver blade fit my Ryobi P318 23-gauge pin nailer, or is it also used on other Ryobi nailer models?
This piston driver blade is listed as a replacement part for the RYOBI P318 pin nailer, so it should match that model specifically. If you have a different Ryobi nailer, check the exact model number on the tool and compare it to the parts diagram, since driver blades are usually not interchangeable between different nailer types.
Q: What are the signs that the 206679001 piston driver blade in my P318 needs to be replaced?
A worn or damaged driver blade can cause the P318 to misfire, leave pins partially driven, or jam more often than normal. If the tip looks chipped, bent, or uneven after clearing the tool and opening it for inspection, replacing the blade is usually the correct fix.
Q: Do I need to do anything special when installing the 206679001 piston driver blade in a Ryobi P318?
Before installation, remove the battery and any fasteners from the nailer so the tool is completely safe to handle. When fitting the new driver blade, make sure it moves freely in the driver channel and that no debris or bent pins are left inside, because buildup in that area can quickly damage the replacement part.