Overview
This aftermarket piston driver assembly is engineered as a direct-fit replacement for pneumatic and cordless nailers. When the original driver wears out or becomes damaged, nail depth consistency suffers and misfires increase. Installing a fresh piston driver restores factory driving performance without the cost of a full tool rebuild.
Key specifications
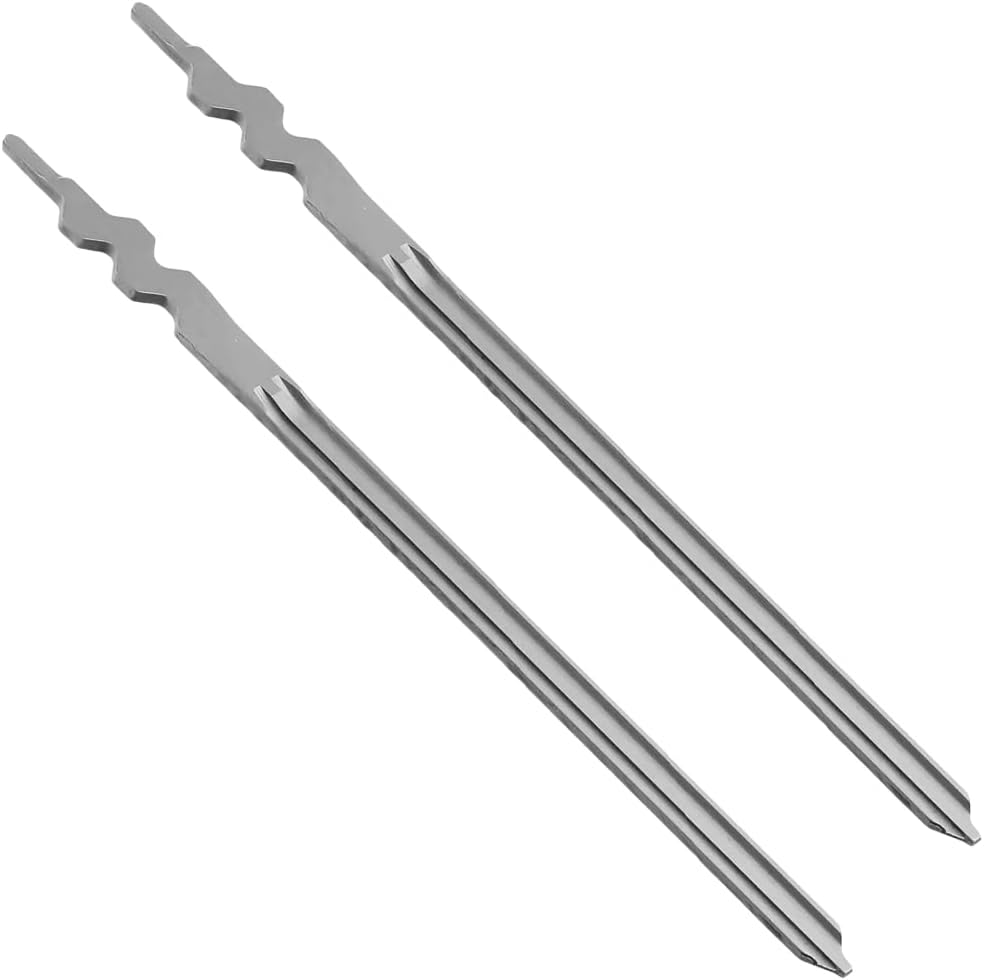
- Aftermarket piston driver assembly
- Direct OEM-equivalent replacement
- Includes 2 piece(s) per package
- Includes o-ring(s) for proper cylinder seal
- Precision-machined for consistent nail depth
Compatibility
This piston driver is designed to fit DeWalt nailers as specified in the compatibility listing above. Always cross-reference the full model and type number stamped on your tool’s nameplate before ordering.
Installation notes
Before installation, disconnect the air supply or remove the battery and release any residual pressure. Remove the nose assembly and cylinder cap to access the old driver. Inspect the o-rings and cylinder walls while the tool is open, replacing any worn seals at the same time.
Common questions
Q: Will this N455722 piston blade fit both my DeWalt DCN680B and DCN680D1 18-gauge cordless brad nailers?
Yes, this driver blade is made to replace part number N455722/SP N455722 and is listed for both the DeWalt DCN680B and DCN680D1. It’s also referenced for the Bostitch BCN680D1, but it’s still best to confirm your original part number before installation if your nailer has had previous repairs.
Q: Does this part come with everything needed to fix a broken driver, or is it just the piston blade itself?
This listing is for 2 replacement piston/driver blades only, so you’ll want to inspect the seal, O-rings, and cylinder components in your nailer before reassembly. If your old blade broke from a jam or dry firing, checking for internal wear and cleaning the nose assembly can help prevent the new part from failing early.
Q: Any tips for installing the N455722 driver blade in a DeWalt DCN680D1?
Disconnect the battery first, then disassemble the tool carefully and compare the old blade to the new one to confirm length, mounting style, and alignment are the same before reassembly. Clean out debris from the driver channel and apply only the manufacturer-recommended lubrication, because too much grease or the wrong lubricant can slow the piston and cause feeding or driving issues.